At present Windows Virtual Desktop (WVD) only natively supports addition/removal of users to a WVD app group by separately adding/removing each individual user via PowerShell.
This causes a lot of frustration and difficulty as traditionally you may wish to assign a user to a service via an Active Directory group.
It is possible to workaround and automate addition/removal of users based on an AD Group using an Azure Automation Account and Runbook.
In this blog post I will step through an example of how to do this.
Creating an Automation Account
Login to the Azure Portal with an administrator account which has a minimum of Contributor access to your WVD resource group. This account will also need admin permission to the Azure Active Directory associated with your subscription.
Select Create a Resource.
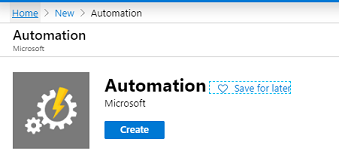
Search for Automation as the resource type and select Automation then press Create.
Enter a name for your Automation account and place it into a relevant Resource Group and Azure Region. I recommend using the same Resource Group and Azure Region where you have placed your existing WVD resources.
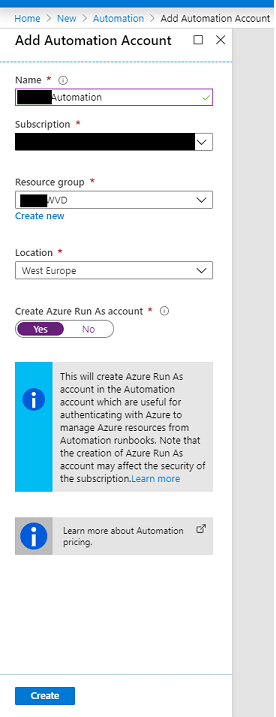
Ensure that Create Azure Run As account is set to Yes then press Create.
Assigning Permissions - Gather Run As Values
Once your Automation Account has been deployed, go to the resource and under Account Settings, navigate to Run as accounts.
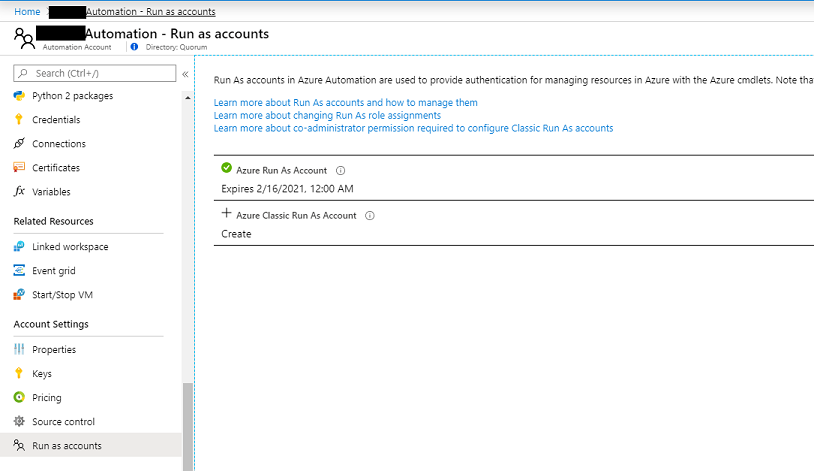
Click on the Azure Run As Account.
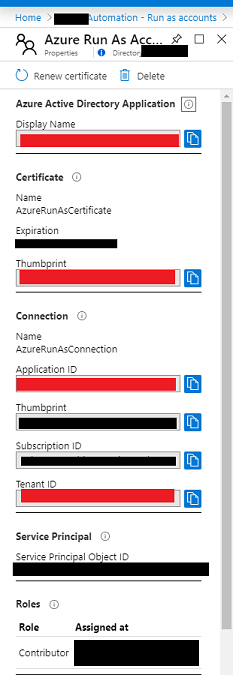
Take a note of the following values which we will need later:-
- Display Name
- Thumbprint
- Application ID
- Tenant ID
Assigning Permissions - Windows Virtual Desktop Tenant
You will need the WVD PowerShell module on your local machine for this section. This can be downloaded and installed as detailed here.
In this section we will grant permissions for your Run As Account to access your WVD tenant.
Launch a PowerShell session to your WVD tenant using an appropriate account with RDS Owner permissions:-
Get-RdsTenant
Add-RdsAccount -DeploymentUrl "https://rdbroker.wvd.microsoft.com"
Enter the following variables into your PowerShell session:-
$WVDTenantName = "<WVD Tenant Name shown in Get-RDSTenant>"
$ApplicationId = "<Application ID we noted earlier>"
Run the following command to assign the Automation Run As account permissions to your WVD tenant:-
New-RdsRoleAssignment -RoleDefinitionName "RDS Owner" -ApplicationId $ApplicationId -TenantName $WVDTenantName
Assigning Permissions - Azure Active Directory Tenant
You will need the Azure AD Powershell module on your local machine for this section. This can be downloaded and installed as detailed here.
In this section we will grant permissions for your Run As Account to access your Azure AD tenant.
Login to Azure AD via PowerShell:-
Connect-AzureAD
Add the service principal for the Azure Automation Run As account with permissions to read your within your Azure Active Directory:-
$roleId = (Get-AzureADDirectoryRole | where-object {$_.DisplayName -eq "Directory Readers"}).Objectid

$spObjectId = (Get-AzureADServicePrincipal -SearchString "<Display Name Noted Earlier>").ObjectId

Add-AzureADDirectoryRoleMember -ObjectId $roleId -RefObjectId $spObjectId
Whilst we are logged into Azure AD via PowerShell, we should also search for the AD group we want to use for WVD assignment to obtain it’s object ID.
The group can either be a native/cloud Azure AD group or equally an on-prem AD group if you are syncronising your AD using Azure AD Connect.
Get-AzureADGroup -SearchString "<Name of your AD group>"
Note the returned ObjectID of the relevant group.
Importing Modules to Azure Automation
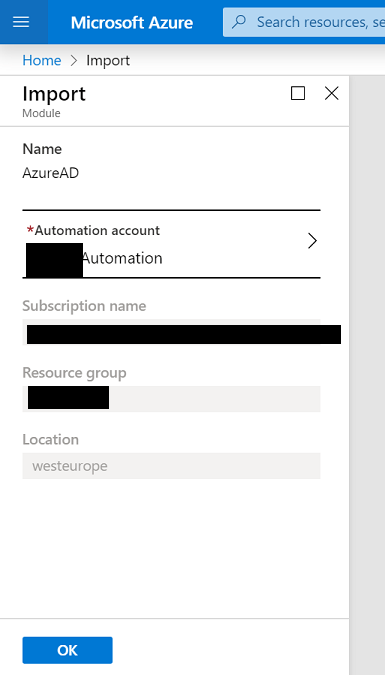
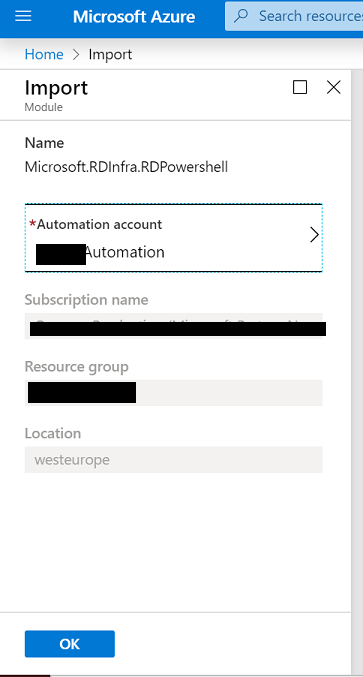
In order to execute the required commands when we build our Runbook in Azure Automation we need to import the PowerShell Modules for Azure AD and Windows Virtual Desktop.
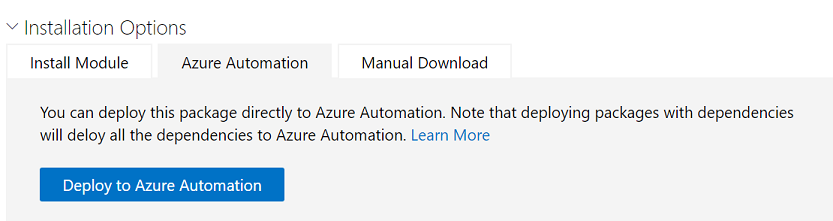
To add the modules visit each of these pages and choose Deploy to Azure Automation under the Installation Options section.
https://www.powershellgallery.com/packages/AzureAD/
https://www.powershellgallery.com/packages/Microsoft.RDInfra.RDPowershell/
Creating the Azure Runbook
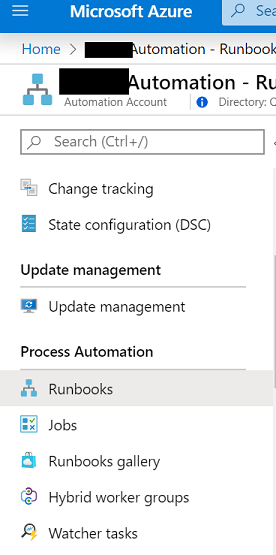
Return to your Azure Automation Account in the portal and navigate to Runbooks under the Process Automation section.
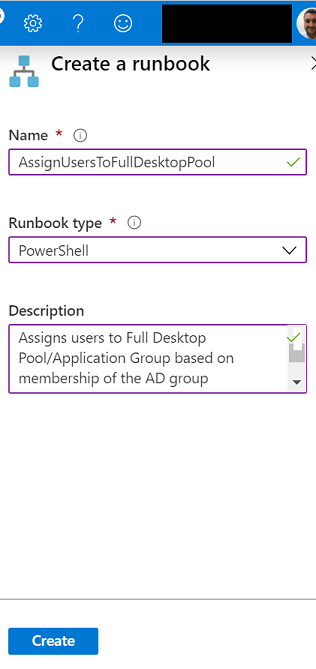
Press Create a runbook and enter an appropriate name and description. Set the Runbook type as PowerShell then press Create.
Once the runbook has been created enter the following code, substituting your values in the variables section.
#Variables
$Thumbprint = "<Your thumbprint we noted earlier>"
$TenantId = "<Your tenantID we noted earlier>"
$ApplicationId = "<Your applicationID we noted earlier>"
$WVDTenantName = "<Your WVD tenant name>"
$WVDHostPoolName = "<Your WVD host pool name>"
$WVDAppGroupName = "<Your WVD app group name>"
$AADGroupObjectID = "<The object we noted earlier for your AD group>"

#Connect to WVD Tenant
Add-RdsAccount -DeploymentUrl "https://rdbroker.wvd.microsoft.com" -CertificateThumbprint $Thumbprint -ApplicationId $ApplicationId -AadTenantId $TenantId

#Connect to Azure AD
Connect-AzureAD -TenantId $TenantId -ApplicationId  $ApplicationId -CertificateThumbprint $Thumbprint

#Get members of WVD app group and remove all users
Get-RdsAppGroupUser -TenantName $WVDTenantName -HostPoolName $WVDHostPoolName -AppGroupName $WVDAppGroupName | Remove-RdsAppGroupUser

#Get members of your AD group and add them to the WVD app group
Get-AzureADGroupMember -ObjectID $AADGroupObjectID -All $true  | Add-RdsAppGroupUser -TenantName $WVDTenantName -HostPoolName $WVDHostPoolName -AppGroupName $WVDAppGroupName
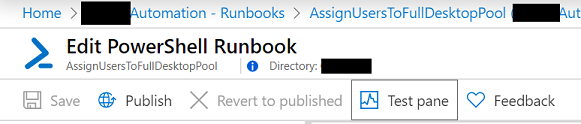
Press Save and then press Test pane to test your Runbook.
Press Start and once your test runs you should see no errors if all is working as expected.

Close out of the Test pane window to return to the Edit window and then press Publish.
Scheduling the Azure Runbook
We can use schedules to automatically execute the Runbook when required.
From the runbook choose the option Link to Schedule.

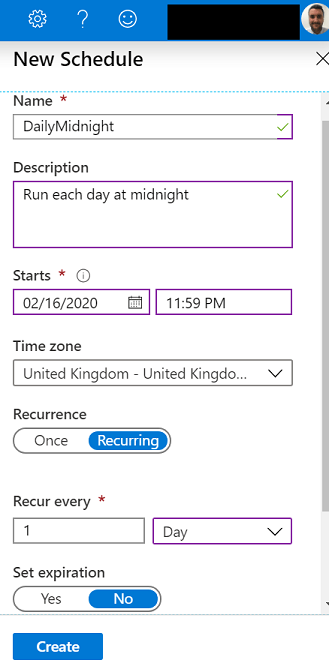
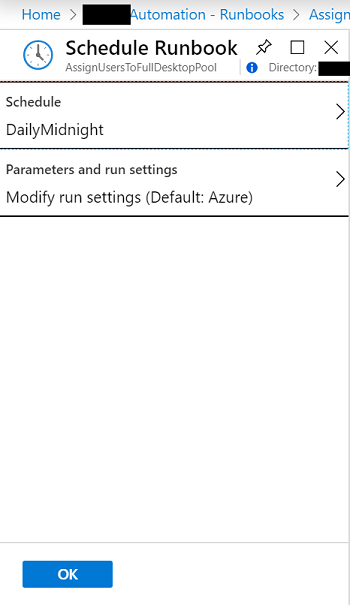
Press Create a new schedule and enter a name, description and the values of the schedule you wish to set. In this example I will set a schedule to run daily at midnight.
Select the schedule to link it to the runbook and press OK.
If required you can also run the runbook at any time on demand by using the Start button on the runbook pane