I recently changed this blog to rossinthecloud.com from rossmc.co.uk/rossmc.net to have achieve more consistency across my blog and other social media platforms. After this change I wanted to redirect any traffic to the root of my old domains to this one.
There are a number of Azure services which can help us here, for example the fantastic Azure Front Door. But I wanted to look at not necessarily the “best” approach to this but one which is “good enough” and the cheapest option!
In this post I look at using Azure Functions to create a simple redirect without even writing a line of code!
What are Azure Functions?
Azure Functions is a serverless compute service that lets you run event-triggered code without having to explicitly provision or manage infrastructure.
With Azure Functions, you don’t have to worry about running IT infrastructure. Microsoft provides all the up-to-date servers you need to keep your application running at scale. It is “serverless”!
Creating a Function App via the portal
Head over to the Azure Portal, select Create New Resource and search for Function App.
Press Create
Select a Resource Group to deploy the Function to, your desired Azure region and give it a name.
Note that this name is the name your function will be presented as in its default URL.
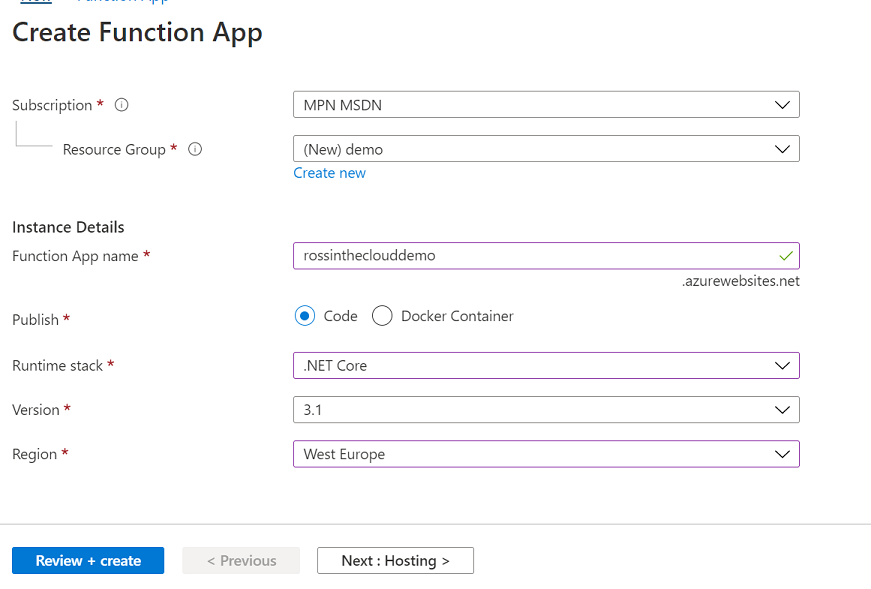
Press Next
Select an existing storage account if you have one suitable or create a new one Select Windows as the OS Select Consumption (Serverless) as your plan type
Press Review and Create
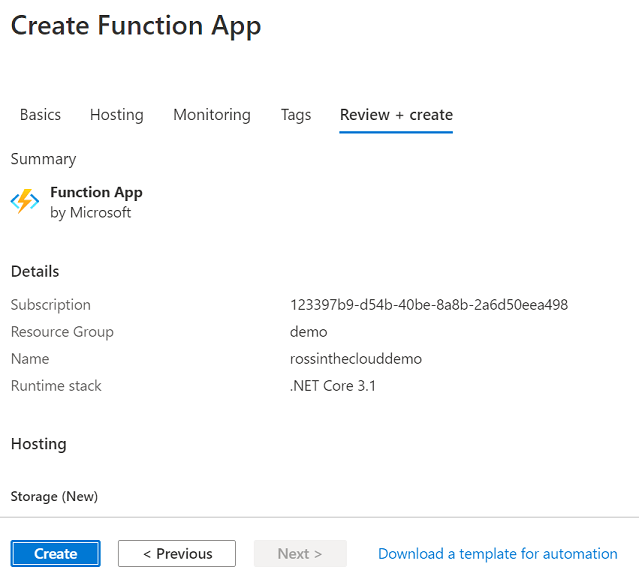
Press Create
Create your redirect
To create the redirect from your function’s URL to your destination URL we don’t actually need to write any function code.
We can simply use the proxies element of Azure Functions!
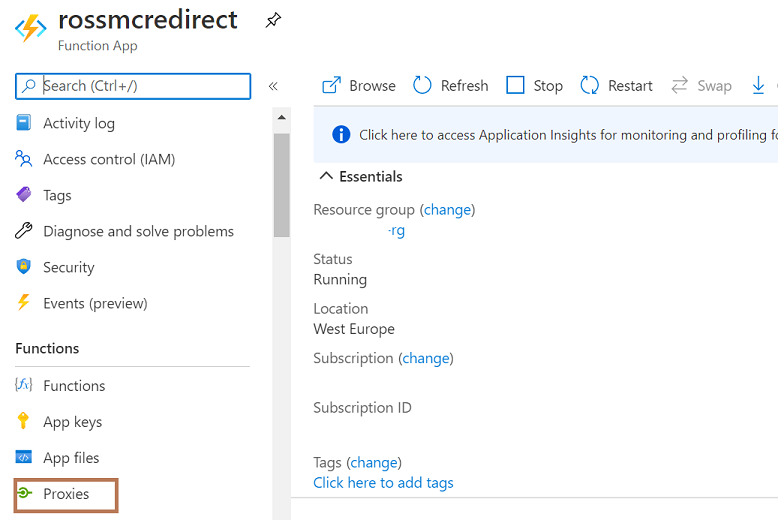
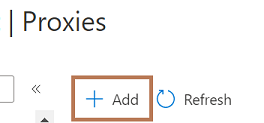
Navigate to your function and click on Proxies on the left menu.
Press Add
Enter a Name Under Route Template enter /
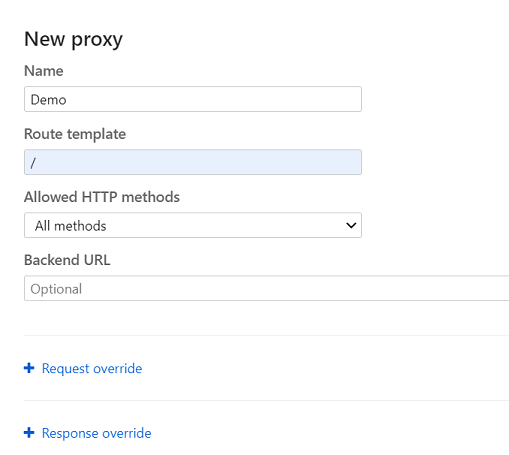
Expand Response override
Enter Response Code 301
Create a Header called location and enter the value as the URL you want to redirect to
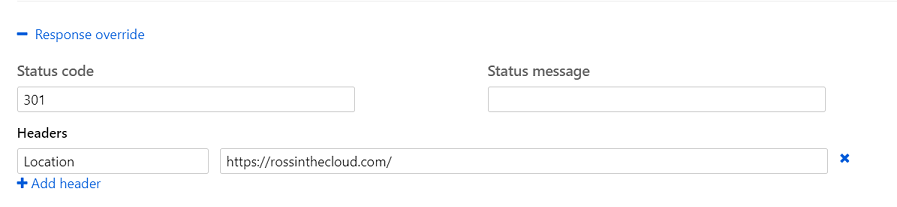
Press Save
At this point we now have a default function URL redirecting to another URL e.g http://rossmcredirect.azurewebsites.net redirecting to https://rossinthecloud.com
What we really want here is to redirect our own domain, which is the next step!
Custom Domain
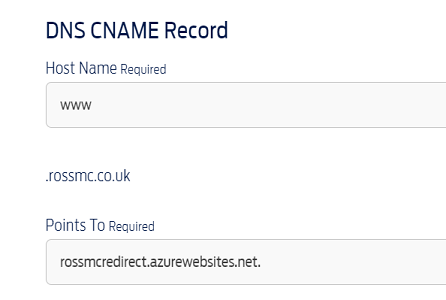
Firstly, head over to your domain/DNS provider and point your domain or subdomain towards your function address using a CNAME.
Now head back to your Function App in the Azure Portal.
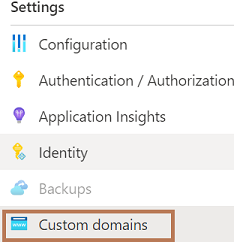
From the Settings menu choose Custom domains
Press Add custom domain
Enter your domain or subdomain and press Validate
Select CNAME and press Add Custom Domain
Your function URL will now be available using your custom domain in addition to the azurewebsites.net domain.
At this point your custom domain will be HTTP only, however you will probably want to add HTTPs which I will cover in the next section.
Add SSL to your function for HTTPs
To add SSL here, I recommend a bit of a “lazy” option.
Using LetsEncrypt you can obtain free SSL and to do this I recommend deploying shibayan’s Automated ACME issuer for Azure App Service (Web Apps / Functions / Containers).
This provides another simple Azure function to automatically generate, add and renew SSL certificates for your functions with a few clicks.
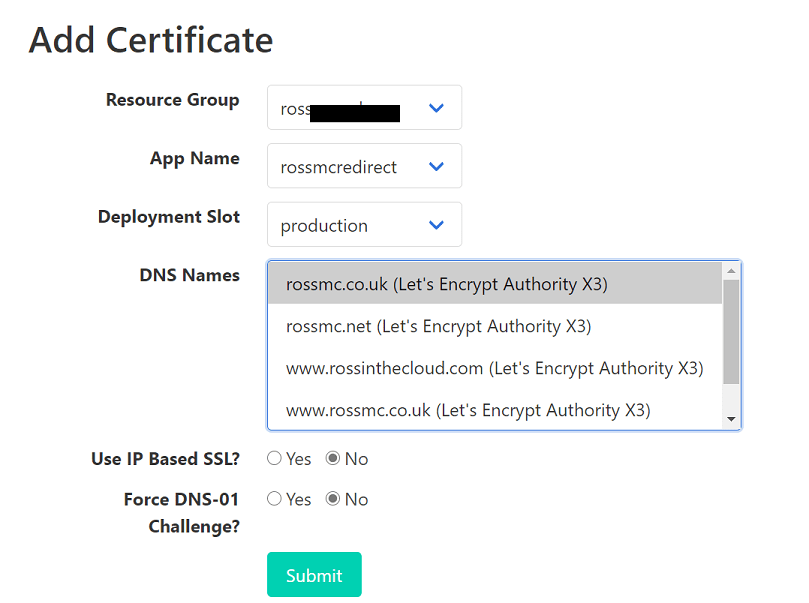
Go ahead and follow the instructions here to get this setup.
Summary
If you have followed all of the above you should now have a working http/https redirect from an old website to a new with SSL using Azure Functions without having to write a line of code.
If you go to https://rossmc.co.uk as an example, you will be redirected here to https://rossinthecloud.com using the above deployment.